
How to Set Up a Server Room for Your Small Business in NYC
A 10-person office needs a home for its router, firewall, switches, and patch panels just as much as a large one does. The difference is that small businesses rarely plan for it. Get the space right early and the network holds up for years. Ignore it and you spend that time troubleshooting overheating gear and unexplained outages.
Does a Small Business Need a Dedicated IT Space?
Even in a cloud-heavy environment, physical networking hardware still needs somewhere to live. Routers, firewalls, switches, and access points all require a location that’s ventilated, organized, and accessible to whoever handles IT.
If your office runs local applications, handles sensitive data, or has grown past a handful of employees, a dedicated IT closet is not optional. It’s what everything else runs on.
Location Requirements for a New York City Office
Real estate in New York leaves little room for poor placement decisions. Networking gear near exterior walls picks up moisture and temperature swings. A closet next to a kitchen or bathroom brings humidity. HVAC ducts add dust and vibration.
A central interior room with limited foot traffic, a dedicated power circuit, and a clear cabling path is the target. These are baseline server room requirements for any NYC office, and the location is one of the few decisions that’s genuinely hard to reverse.
The Core Components That Goes Into a Small Server Room
The rack.
A server rack keeps equipment organized, ventilated, and off the floor. Wall-mounted racks work well in tight spaces and free up the floor entirely. Enclosed cabinets add dust and physical protection; open-frame racks cover most small office needs.
Circuits and backup power.
Networking equipment needs dedicated circuits. Sharing with workstations or appliances causes instability that shows up as random reboots and packet loss. A UPS keeps gear running through a short outage long enough to switch over cleanly. A generator connection is worth planning for if downtime carries a real cost.
Cooling and airflow.
Heat is the most common cause of hardware failure in small IT closets. Cooling and power for a small server room should be part of the initial layout, not addressed after equipment is in. A split-system A/C unit is the most dependable option. A high-capacity exhaust fan with passive intake handles it if the budget is tight. Target 65 to 80 degrees Fahrenheit and 40 to 60 percent relative humidity.
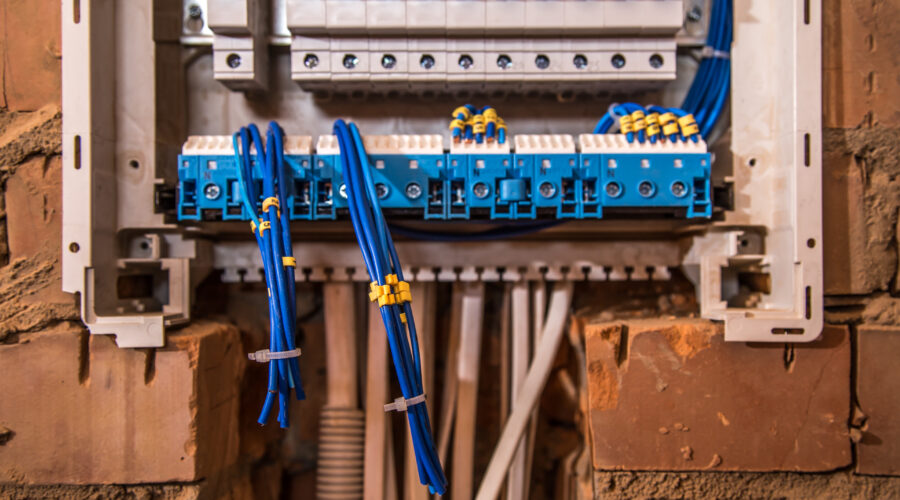
Cabling and patch panels.
Labeled cabling through a patch panel pays off the first time something needs troubleshooting. Businesses that invest in structured network cabling for a commercial office build from the start spend far less time diagnosing issues later compared to those untangling unlabeled runs added piecemeal.
Physical and network security.
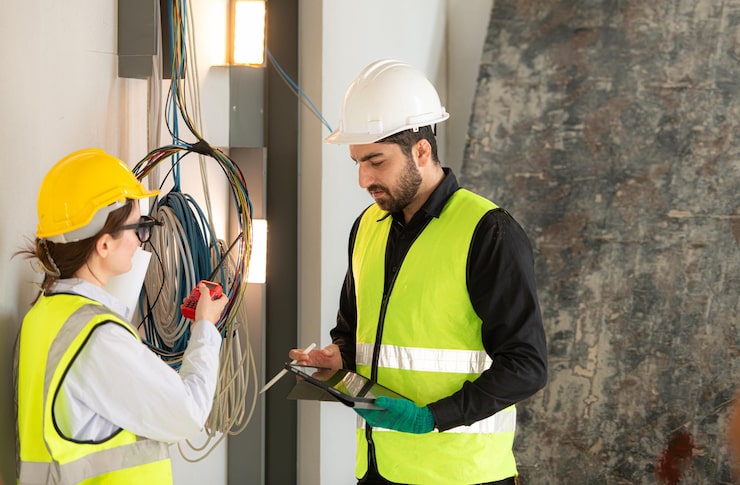
The IT closet needs a lock. On the network side, a business-grade firewall, segmented VLANs, and access logging are standard for any commercial environment. Offices that use ongoing corporate IT support for their network tend to have these controls maintained consistently rather than set once and left.
Fire Suppression and Environmental Monitoring
Water-based sprinklers and networking hardware are a bad combination. A sprinkler event in an IT closet typically causes more damage than the fire. Clean agent systems, FM200, CO2, or nitrogen-based, suppress fires without residue or harm to electronics.
Environmental sensors are inexpensive relative to the hardware they protect. A temperature or humidity alert can flag a problem hours before a failure. Many rack units include onboard monitoring; standalone sensors are easy to add if not.
What Gets Missed When Planning an IT Closet for a New Office
- Shared power circuits with workstations or appliances, causing instability that’s hard to pin down
- No cooling plan, so a closet that’s fine in winter becomes a problem by summer
- Unlabeled cabling that makes every future change a troubleshooting session
- No UPS, turning a routine power flicker into a disruptive event
- An undersized rack that needs replacing within a year or two
- Humidity ignored, leading to corrosion or static damage over time
- No door lock, a physical security gap that undermines everything else
Sizing Infrastructure in a Small NYC Office Build
Leave headroom in the rack, run conduit with room for additional cables, and size the UPS above current load. The cost difference at setup is small. Replacing undersized infrastructure mid-operation is not.
For businesses in a new office build or fit-out, getting an IT partner involved before the walls close matters. Planning low-voltage cabling during new commercial construction costs far less than retrofitting the same runs afterward.
Getting It Right From the Start
A well-planned server room does not require much space or a large budget. It requires treating the infrastructure as something worth planning, not an afterthought. Location, power, cooling, cabling, and security are what determine whether the network holds up or becomes a recurring problem. For NYC offices where space is tight and mistakes are costly, those five things are worth getting right the first time.


Recent Comments